Picture 1
From 1/2" Baltic Birch, cut the following on a table
saw. Cuts should be as square as
possible and to as tight a tolerance as possible (1/32" or better).
Two 6" x 29" panels will be the front and back.
Two 6" x 19" panels will be the left and right sides.
One 20" x 29" panel will be the top.
One 19" x 28" panel will be the bottom.
I used glue and a brad nailer to assemble the above pieces into an enclosed box. All joints were simple butt joints. I made a frame with the front and back covering the ends of the sides. I then attached the top which completely covered the frame. Finally, using scrap blocks of wood, 2" tall, I attached the bottom at a 2" recess. I let the glue cure for 24 hours before proceeding. Use a good quality wood glue like Tight Bond II.
After the box has set up, I adjust the fence of my table
saw to make a cut 1 3/4" from the fence.
I used a good plywood blade on the table saw. I set the depth to about 3/4", just enough to cut the
1/2" plywood. You might want
to have some helping hands to cut the top off, since the table will be heavy and
awkward. Pressing the box top
against the fence, I cut through one side, rotate the box 1/4 turn make another
cut, rotate, cut etc until the lid is cut off.
I found this makes a really clean nice fitting top.
When the time came, I used a long piano hinge to attach the top to the
table.
I made the leg hinges out of 2" x 2.5"
1x4s. 2 per leg.
I drilled 3/4" holes in these to accept a length of 3/4" hard
wood dowel to act as the pivot point. I
had to sand the dowels slightly to be able to insert them in the holes. However, they were then too loose, so I used one drywall
screw in each hinge to keep the dowel from falling out.
The legs were made out of 1x4 oak and were taper cut, 2" at the top
1" at the bottom and about 28 1/4" long. I used two 7" wide pieces
of 1/4" plywood as leg supports. The
sides of the table were notched to accept the legs when folded.
The biggest trick will be to figure out where the 1/4" plywood
supports will need to be so the whole thing folds up nicely.
Once that is established, I made a recessed cut into the the legs
1/4" so the supports were flush with the leg.
I added strips of.25" x 1.5" wood sticking above the point where the top and bottom meet by .5". This adds support to the table top when the top is closed to prevent the top from wandering on the bottom. The strips are on the front and two side. The back doesn't need support because of the piano hinge. I attached the strips using some small screws which I needed to cut down slightly to keep them from penetrating through the sides.
I made the lid support from some stripes of 1/8"
"L" shaped aluminum which I cut with a band saw.
You can probably buy a suitable support cheaper than making one.
The hardest part will be determining where the legs go, how deep to cut
the notches in the sides and how to attach the leg supports.
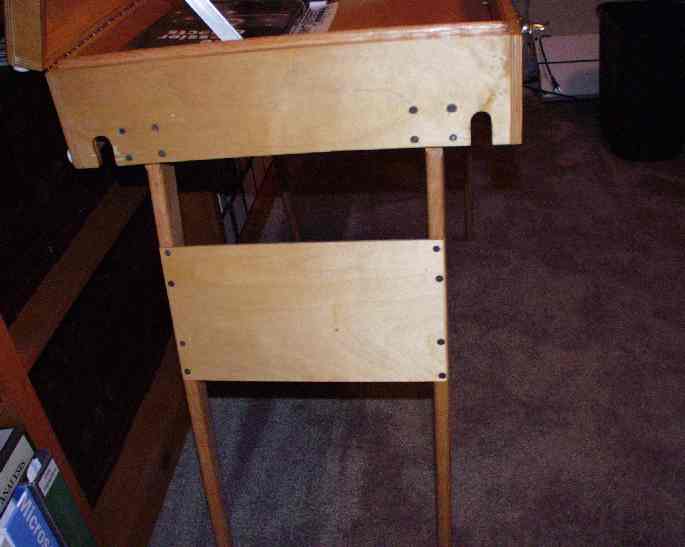
Picture 1 is a side view showing
how the front and back cover the end grain of the sides. It also shows the
wood strips which supports the lid around the inside edge of the open
table. Notice the eight dry wall screws on the sides. I used dry
wall screws, 2 each from the outside and 1 each from the inside to secure each
block for the leg hinges.
Picture 1
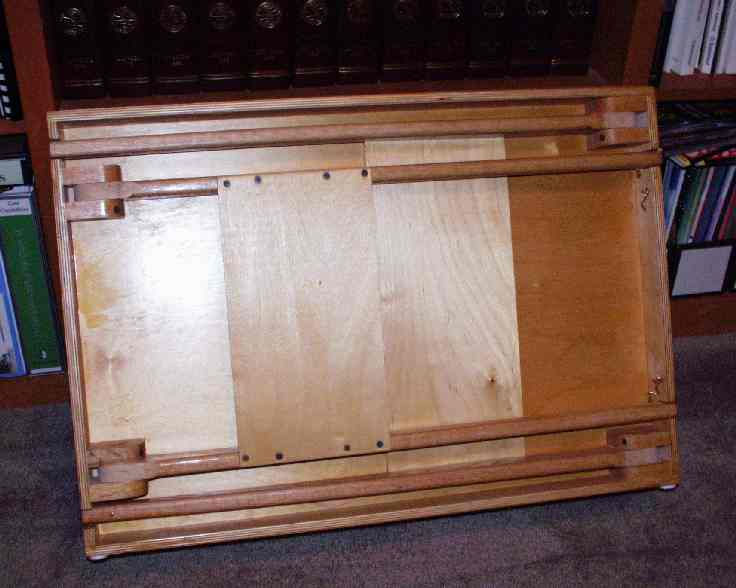
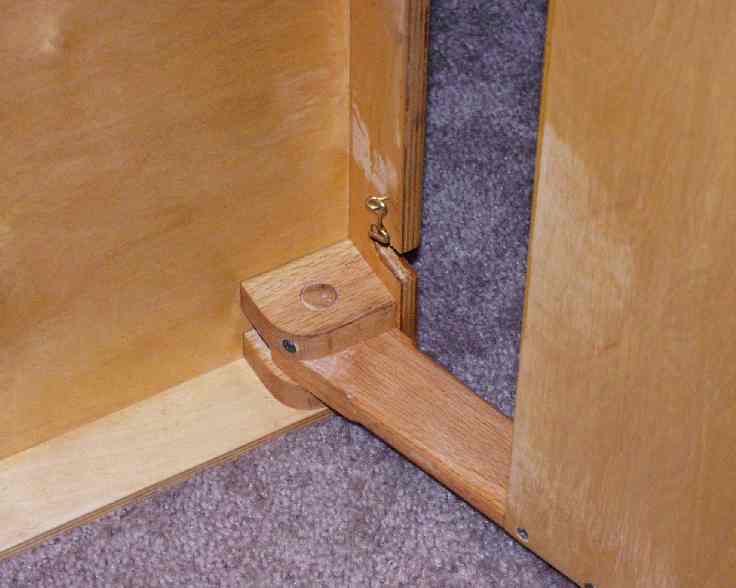
Picture 2 is a bottom view showing details of the hinge and leg construction. Notice the single dry wall screw through one of the two blocks of each hinge. This screw secures the dowel so it doesn't slide out. Notice too, the hook and eyes which secure the legs for transport.
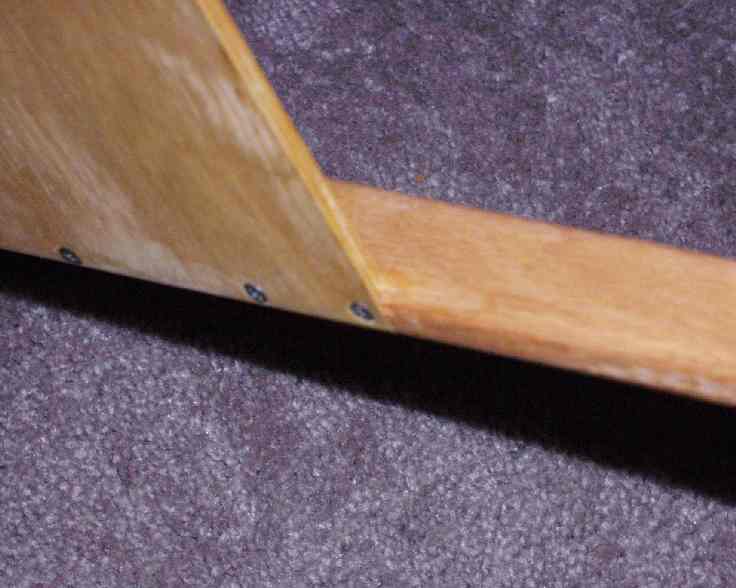
Picture 3 shows the leg brace. These 7" wide 1/4" plywood braces firm up the stance of the table. Their length is dependant upon leg placement. Notice that the brace is inlaid into the leg. The braces are secured by both glue and dry wall screws.
Picture 4 shows a close up of the leg hinges.
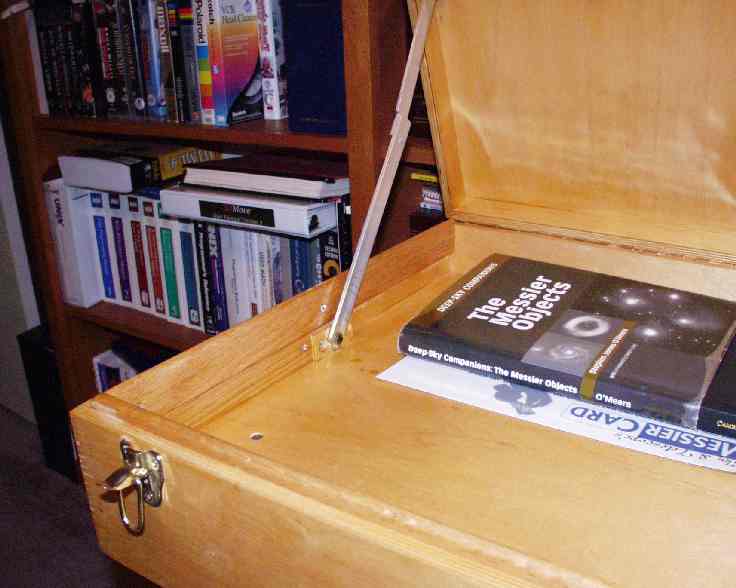
Picture 5 shows some details about the lid brace.